Introduction
In this tutorial, you will learn to use the TextField1 view in SwiftUI.
Simple TextField
To create a text field, we first need to import the SwiftUI framework. Then, we can use the TextField view and specify a placeholder text for the field.
import SwiftUI

struct ContentView: View {
    @State private var text = ""

    var body: some View {
        TextField("Enter text", text: $text)
    }
}
In this example, we create a new view called ContentView and define a @State variable called text that will store the text entered into the text field. We then use the TextField view and specify a placeholder text of “Enter text”. We also bind the text state variable to the text parameter of the TextField view using the $ prefix.
Responsive TextField
We can also respond to changes in the text field by adding a closure that will be executed whenever the text changes. For example, we could print out the new text whenever it changes:
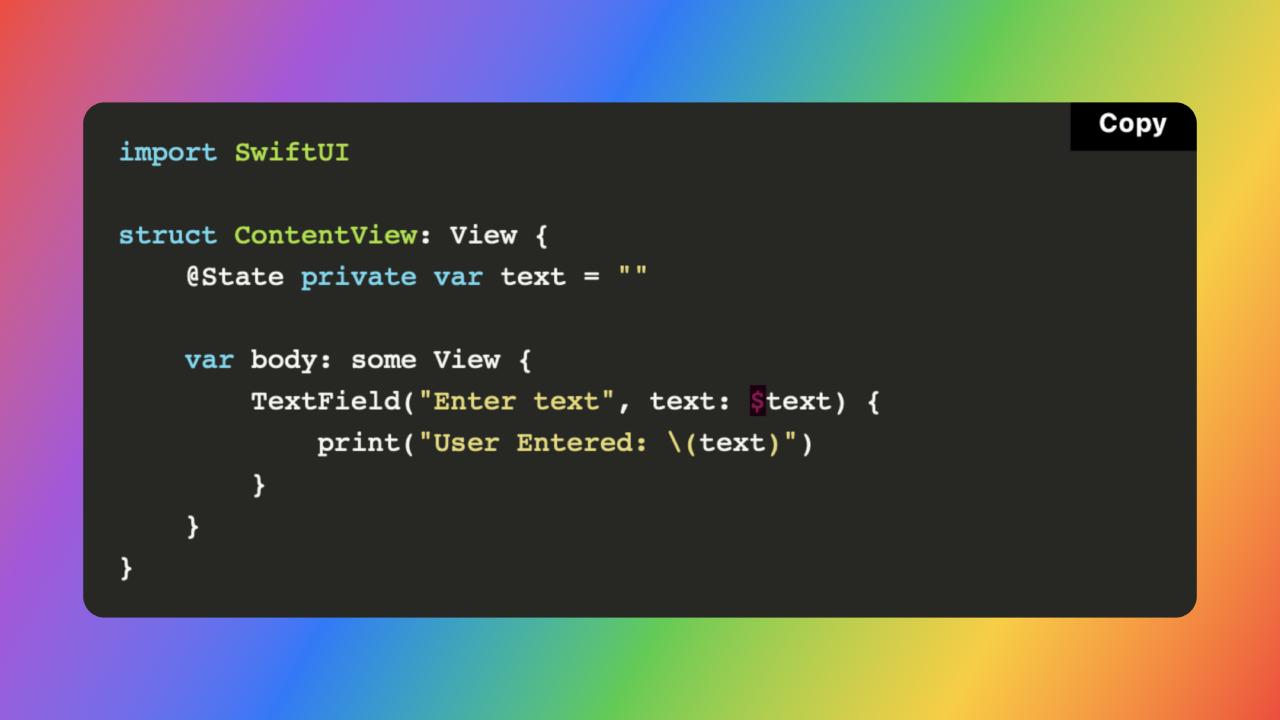
import SwiftUI

struct ContentView: View {
    @State private var text = ""

    var body: some View {
        TextField("Enter text", text: $text) {
            print("User Entered: \(text)")
        }
    }
}
In this example, we add a closure to the TextField view that will print out the new text whenever it changes.
Conclusion
In this tutorial, you learned how to use the TextField view in SwiftUI. You can also improve styling using SwiftUI view modifiers.