Introduction
Most iOS features use and depend on the navigation functionality.
With iOS 16, SwiftUI provides the NavigationStack1 which helps us use this brilliant functionality in just a few lines of swift code.
In this tutorial, I’ll teach you to build your first NavigationStack and leverage data passing between navigation screens in iOS using SwiftUI
A basic example with NavigationLink
We will create a clickable text inside a NavigationLink2 view.
When clicked or pressed, the app should take us to the next view and show some text.
There are several ways to use NavigationLink but we shall focus on a simple example to get a grasp on how it works.
💡 NavigationLink takes a parameter called
destinationwhich expects the View that needs to be rendered after clicking the enclosing link.
Here is a sample snippet.
import SwiftUI

struct ContentView: View {
    var body: some View {
        NavigationStack {
            NavigationLink(
                "Click This",
                destination: Text("You clicked")
            )
        }
    }
}
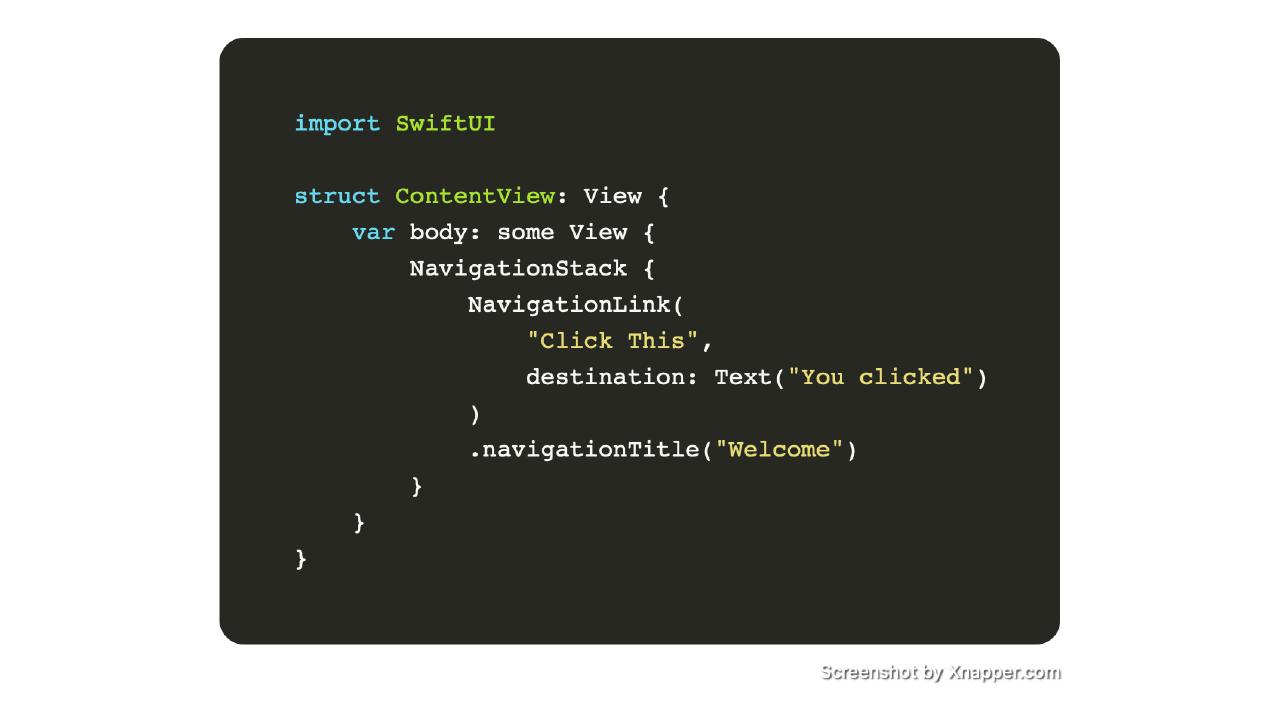
Let’s give this NavigationLink a title using navigationtitle3 modifier
import SwiftUI

struct ContentView: View {
    var body: some View {
        NavigationStack {
            NavigationLink(
                "Click This",
                destination: Text("You clicked")
            )
            .navigationTitle("Welcome")
        }
    }
}
This is the simplest usage of NavigationStack.
A more useful example with NavigationLink
We’ve defined a text based link and a simple text view in the destination.
- Click
Text— “Click This” - Navigate to new view with
Text— “You Clicked”
What if we want to change this a bit?
- Click
Image - Navigate to a new view with
Text
To implement this requirement, we shall change the way we use NavigationLink
💡 We shall keep the
destinationparameter as it is, we shall move theLabelpart inside the defintion.
import SwiftUI

struct ContentView: View {
    var body: some View {
            NavigationStack {
                NavigationLink(
                    destination: Text("You clicked")
                ){
                    Image(systemName: "arrow.up.right")
                        .resizable()
                        .frame(width: 50.0, height: 50.0)
                }
                .navigationTitle("Welcome")
            }
        }
}
Now, let’s change the destination view as well. We shall attempt to change it to an Image View.
import SwiftUI

struct ContentView: View {
    var body: some View {
            NavigationStack {
                NavigationLink(
                    destination:  Image(systemName: "arrow.up.right")
                        .resizable()
                        .frame(width: 50.0, height: 50.0)
                ){
                    Image(systemName: "arrow.up.right")
                        .resizable()
                        .frame(width: 50.0, height: 50.0)
                }
                .navigationTitle("Welcome")
            }
        }
}
Let’s clean this up a bit. Let’s re-use variables to make this robust and clean.
import SwiftUI

struct ContentView: View {

    @State private var image: Image =
        Image(systemName: "arrow.up.right")
        .resizable()

    var body: some View {
        NavigationStack {
            NavigationLink(
                destination:  image.frame(width: 50.0, height: 50.0)
            ){
                image.frame(width: 50.0, height: 50.0)
            }
            .navigationTitle("Welcome")
        }
    }
}
Now, what if the destination view consisted of multiple views ( in a VStack for instance) ?
We can define a separate destination view and pass it in the destination parameter.
import SwiftUI

struct CustomView: View {

    var body: some View {
        VStack {
            Text("You'd Clicked")
        }
        .navigationTitle("Second View")
    }
}

struct ContentView: View {

    @State private var image: Image =
        Image(systemName: "arrow.up.right")
        .resizable()

    var body: some View {
        NavigationStack {
            NavigationLink(
                destination: CustomView()
            ){
                image.frame(width: 50.0, height: 50.0)
            }
            .navigationTitle("Welcome")
        }
    }
}
Data passing using binding4 variable
We can pass data to the destination view as a constructor argument.
import SwiftUI

struct CustomView: View {

    @Binding var img: Image

    var body: some View {
        VStack {
            Spacer()
            Text("You Clicked")
            Spacer()
            img.frame(width: 50.0, height: 50.0)
            Spacer()
        }
        .navigationTitle("Welcome 2")
    }
}

struct ContentView: View {

    @State private var image: Image =
        Image(systemName: "arrow.up.right")
        .resizable()

    var body: some View {
        NavigationStack {
            NavigationLink(
                destination: CustomView(img: $image)
            ){
                image.frame(width: 50.0, height: 50.0)
            }
            .navigationTitle("Welcome")
        }
    }
}
In this tutorial, you’ve learnt how to built a simple and interactive navigation sequence in iOS with a few lines of Swift.
This knowledge can be used to build your first iOS app.
😃📱 Build something and share it with the world.