How to Take Screenshots of Views in SwiftUI

In this tutorial, you'll learn to convert a SwiftUI view into an UIImage/Image using only a few lines of swift code.

Share:

Mar 19, 2023 533 Words

Read Time: 3 Minutes

A screenshot of code-snippet to use ImageRendere in SwiftUI in iOS

Introduction

In SwiftUI, you can use ImageRenderer1 to take screenshots or images as an UIImage object for any SwiftUI view.

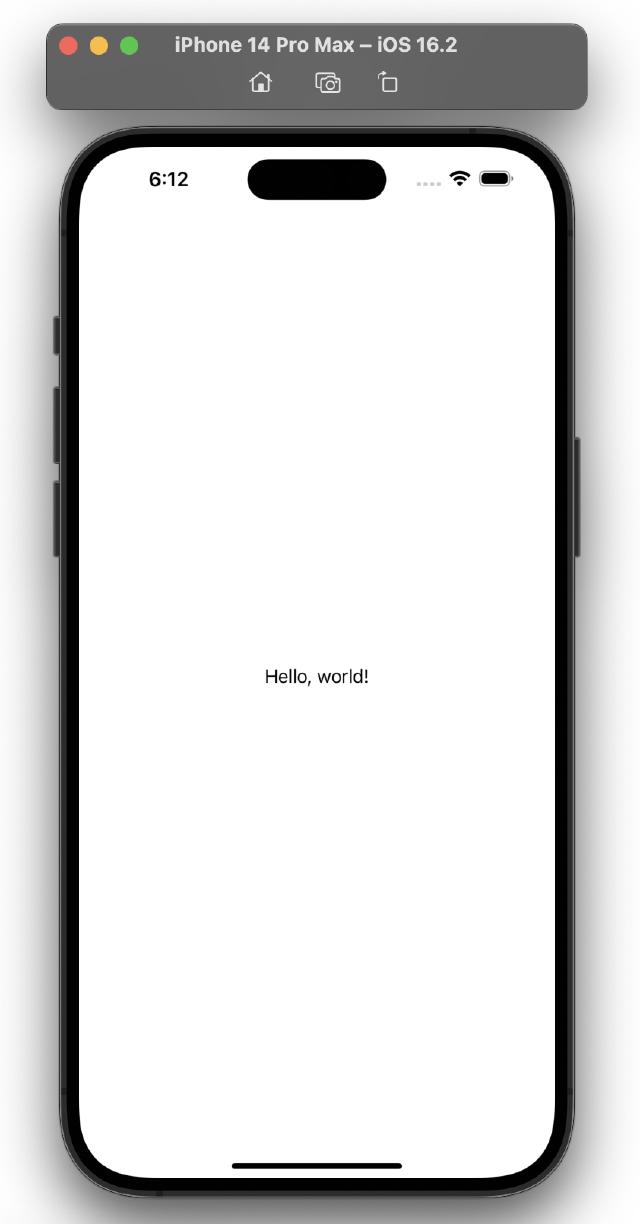
Let’s consider a simple Text view in SwiftUI. The goal is to take a snapshot of it using ImageRenderer object.

import SwiftUI

struct ContentView: View {
	var body: some View {
			VStack {
				 Text("Hello, world!")
			}
	}
}

This is how this renders in the Xcode iOS device simulator

A screenshot of a Xcode iPhone simulator saying hello world

How to use ImageRenderer?

Now, let’s try to create a snapshot of this view using ImageRenderer feature.

import SwiftUI

struct ContentView: View {
    var body: some View {
        VStack {
            Spacer()
            VStack {
                Text("Hello, world!")
            }
            Spacer()
            snapshot().resizable().aspectRatio(contentMode: .fit)
                .frame(maxWidth: 100, maxHeight: 100).border(.red)
            Spacer()
        }
    }
    
    @MainActor func snapshot() -> Image {
        let imagerenderer = ImageRenderer(
            content: VStack {
                Text("Hello, world!")
            }.frame(maxWidth: 100, maxHeight: 100)
        )
        return Image(uiImage: imagerenderer.uiImage!)
    }
}

💡 If the view gets complex, which it inevitably does, it’s better to define it in a function or variable so that it can be reused in snapshot function without too much duplication.

I’ve abstracted the view to be captured, in it’s own variable to clean up duplicate code,

import SwiftUI

struct ContentView: View {
    
    var viewToBeSnapshotted: some View {
        VStack {
            Text("Hello, world!")
        }
    }
    
    var body: some View {
        VStack {
            Spacer()
            VStack {
                Spacer()
                Text("↓ The View").underline()
                Spacer()
                viewToBeSnapshotted
                Spacer()
            }
            Spacer()
            VStack {
                Spacer()
                Text("↓ The Snapshot").underline()
                Spacer()
                snapshot().resizable().aspectRatio(contentMode: .fit)
                    .frame(maxWidth: 100, maxHeight: 100).border(.red)
                Spacer()
            }
           
            Spacer()
        }
    }
    
    @MainActor func snapshot() -> Image {
        let imagerenderer = ImageRenderer(
            content: viewToBeSnapshotted.frame(maxWidth: 100, maxHeight: 100)
        )
        return Image(uiImage: imagerenderer.uiImage!)
    }
}

The modifiers and annotations around the snapshot image is so that the view and the related ‘snapshot’ are presented cleanly in the demonstration

A screenshot of ImageRenderer in SwiftUI working it’s magic

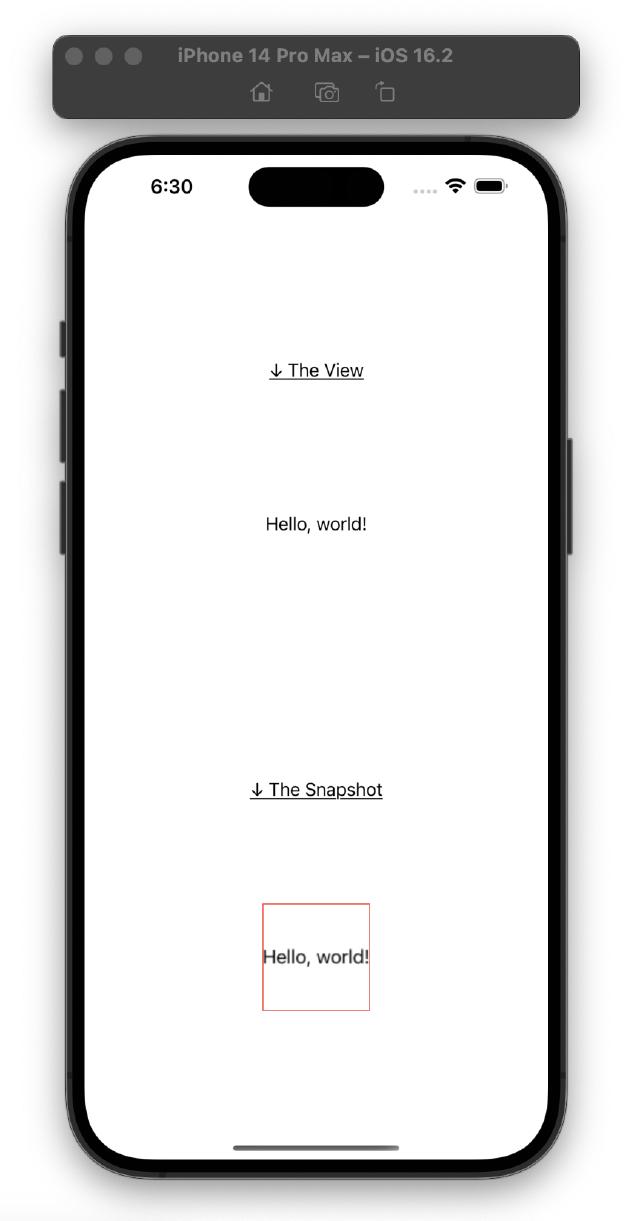
This is the simplest implementation of ImageRenderer in action.

To understand how awesome this is, I would like to demonstrate a cool experiment below.

Code Snippet

Let’s say the view contains a variable that changes in real-time. We want the corresponding snapshot function to also capture the changes in real-time.

Say the the text contains a number variable that can increase/decrease on some trigger

Here’s the code:

import SwiftUI

struct ContentView: View {
    
    @State var number: CGFloat = 0
    
    var viewToBeSnapshotted: some View {
        VStack {
            Text("The number is \(number)")
        }
    }
    
    var body: some View {
        VStack {
            Spacer()
            VStack {
                Spacer()
                Text("↓ The View").underline()
                Spacer()
                viewToBeSnapshotted
                Spacer()
            }
            Spacer()
            VStack {
                Spacer()
                Text("↓ The Snapshot").underline()
                Spacer()
                snapshot().resizable().aspectRatio(contentMode: .fit)
                    .frame(height: 100).border(.red)
                Spacer()
            }
            Spacer()
            HStack {
                Spacer()
                Text("Slide to update number →")
                Slider(
                    value: $number,
                    in: 0...100,
                    step: 1,
                    label: {
                        Text("Number")
                    }
                )
                Spacer()
            }
        }
    }

    @MainActor func snapshot() -> Image {
        let imagerenderer = ImageRenderer(
            content: viewToBeSnapshotted.frame(maxWidth: 100, maxHeight: 100)
        )
        return Image(uiImage: imagerenderer.uiImage!)
    }

}

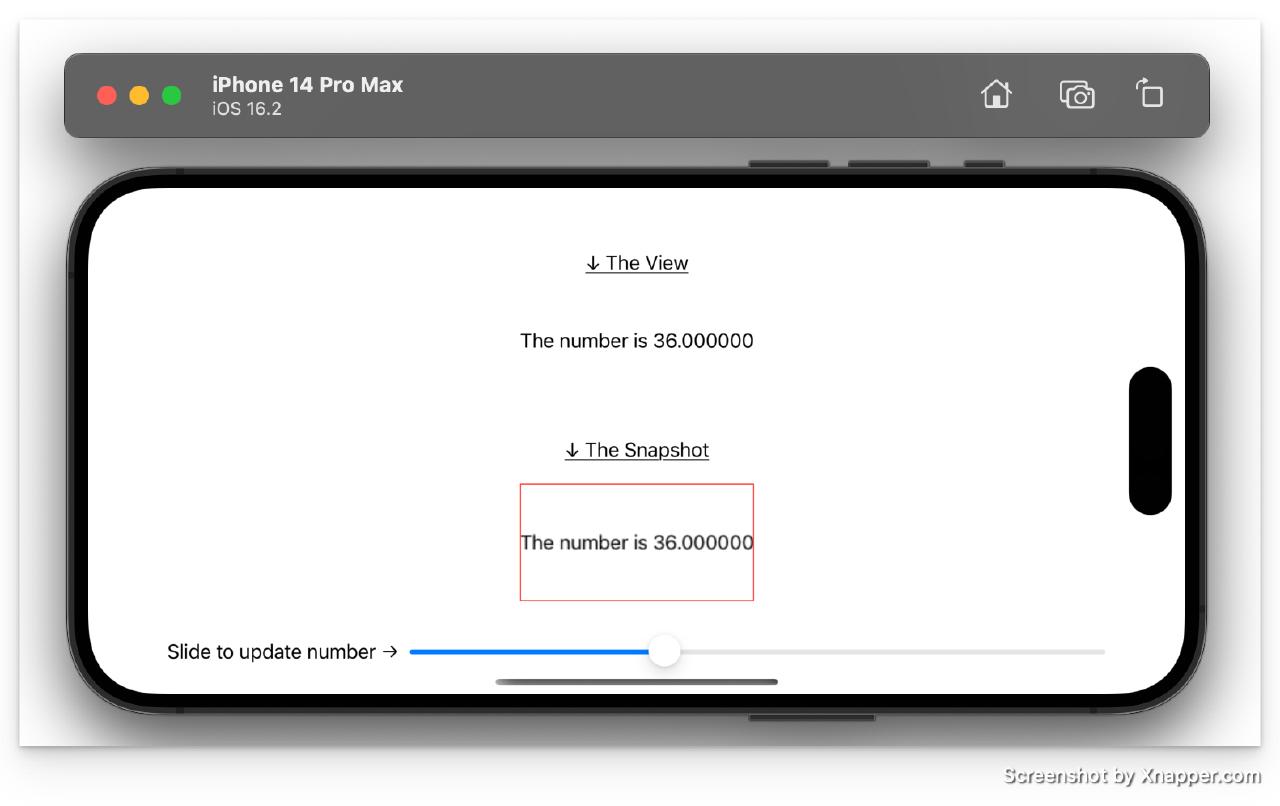
I’ve added a simple slider2 that updates a @State variable called number from 0 to 100. This number is added part of the Text view.

When the slider updates the number, the view and the corresponding snapshot update in real-time.

Demonstration

A gif image of ImageRenderer working live on a dynamic Text view with variables

In this tutorial, you’ve learnt how to generate a snapshot of SwiftUI view in only a few lines of swift code.

👋 – @TnvMadhav

References

Find more posts from following topics

1
10
11
12
13
14
15
16
17
18
19
2
20
2024
2025
21
22
23
24
25
26
27
28
29
3
30
31
4
5
6
7
8
9
@binding
abbacchio
accurate requests
anime
api development
api testing
api testing tools
apple
april
arm
array
august
automated testing
bad habits
base64 decoder
base64 encoder
bash
biography
blog
blogging
books
browser
bulma css
bulma.io
bulmacss
button swiftui
chatgpt
chrome
clipboard
code
code block
code navigation
code snippet
code-review
codecoverage
comparison
compile
computer networks
configuring debugger for django in vs code
configuring launch.json for python debugger
copy
copy to clipboard
copy to clipboard neovim
css
current date
current time
current timestamp
database
debugger setup in visual studio code
debugging
debugging django app in visual studio code
debugging python code in visual studio code
debugging python programs with visual studio code
debugging python with virtual environment in vs code
december
developer productivity
developers
development
development workflow
django
django rest framework
dom
dynamic sitemap in nextjs
editor
encryption
engineering dashboard
enumerate
experience
february
fiction
flowcharts
fzf
generics
git
git diff
github
global keyboard shorcut
global shortcut
go hugo
go programming
go test
go to line
go tool
go1.18
golang
golang development
golden wind
good habits
gorilla websocket
gpt
gpt-3.5
gpt-4
gpt-4 api
guide
gumroad
habits
habits tracker notion template
hamburger menu
har
hotkeys
html
http
http-archive
hugo
ide
image
image sharing
image tool for ios
imagerenderer
include timestamp
integrated development environment
intel
ios
ios 16
ios16
iphone
iphone 13
iphone 13 pro
iphone 13 pro max
january
javascript
jojo's bizzarre adventure
july
jump to definition
june
keyboard shortcut
leonardo da vinci
lessons
linux
logging
ls
lsp
macos
map
march
markdown
markdown code
may
mental programming
menu
menubarextra
mergesort
mermaid syntax
mistake tracker notion
mobile view
modifier
modulo operation
navbar
navigationlink
navigationstack
neovim
nested functions
next.js
nextjs
nextjs markdown
nextjs sitemap
nextjs sitemaps
nice shot
nice shot pro
notion
notion api
notion api python
notion budget
notion budget template
notion budget tracker
notion bug report tracker
notion dashboard
notion expense manager
notion habits
notion habits dashboard
notion habits template
notion habits tracker
notion habits tracker template
notion issue tracker
notion mistake tracker
notion product
notion product dashboard
notion product roadmap
notion product roadmap dashboard
notion tasks
notion tasks dashboard
notion tasks template
notion tasks tracker
notion template
notionworkspaces
november
october
openai
osx
pagination
personal ifttt framework
photospicker
photospickeritem
phpickerfilter
postgres
postman capabilities
postman request
powerpc
pre-request script
product roadmap notion template
product roadmap template
productivity
productivty
programming
python
python api
python debugger tutorial for vs code
python debugging mode in vs code
python notion api
python3
reading
real time communication
rehype
remark
request data
rosetta
running debugger in visual studio code
running django app in debugging mode
running program in debugging mode in vs code
running python code in debugging mode
safari
screenshot app for ios
screenshot app ios
screenshot ios
screenshot tool for ios
september
set current timestamp
setting up debugger in vs code for python
share extension
sharelink
sharepreview
sharesheet
simple websocket server
sitemap
slice
slices
slider
sort
sorting
space complexity
sql
ssh
step-by-step guide
stocks profits tracker
stocks profits tracker template
stocks tracker
struct
sustained vigilance
swift
swiftui
swiftui button
swiftui button action
swiftui button style
table of contents
tasks tracker notion template
tcp
test
testing
textfield swiftui
til
tim-sort
time complexity
timeliness
timestamp integration
timsort
transferable
triggers and actions
tutorial
unittest
unix
us stocks
usa stocks
useful ios features
using breakpoints in python debugger
using virtual environment with python debugger
vanilla javascript
variable
vim
visual mode
visual studio code
vs code
vscode
vscode go to line
walter isaacson
web sockets in go
websocket client
websocket programming
websocket server
white screen of death
wsod
x86
xcode
xss
zsh